[펌] 신기한 핸드폰 사진
잡다한 생각 :
2007. 2. 9. 17:35
제길...
네이년에서 퍼올려고 했더니만 referer 체크하는가보다...ㅡ.ㅡ;;;
나중에 생각해보세~ 휘리릭..
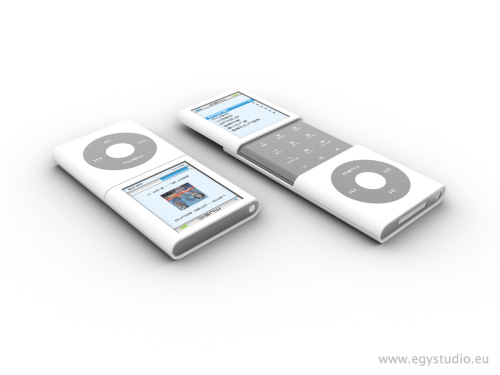
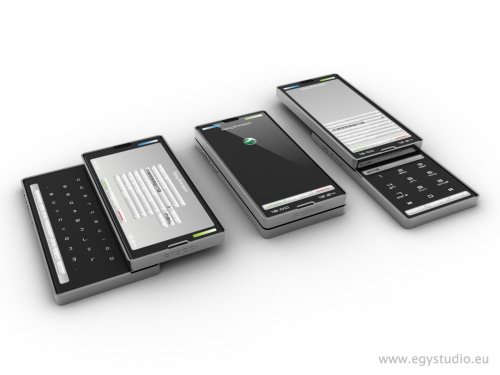
위의 두개가 각각 다른 모델인줄 알았는데 가운데 부분이 통째로 터치스크린인가봐요.
상단 액정부만 올리면 핸드폰 양쪽 다 올리면 영화감상 모드인가?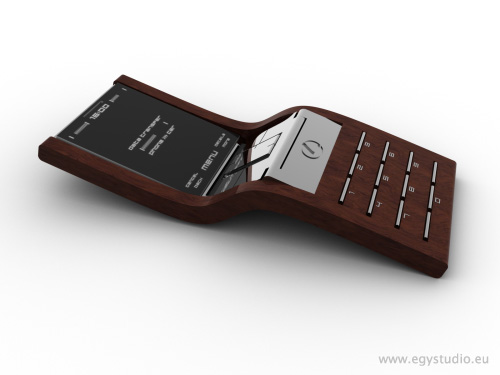
호......재밌군요.
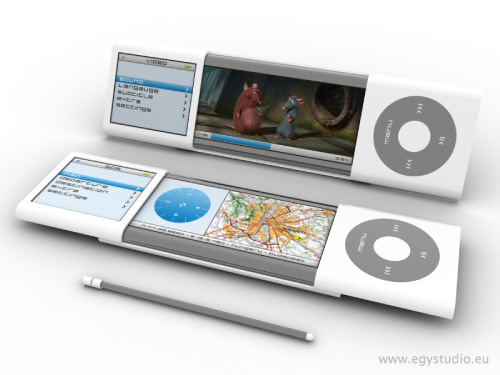
요즘 유행하는 S라인인가요 후후..
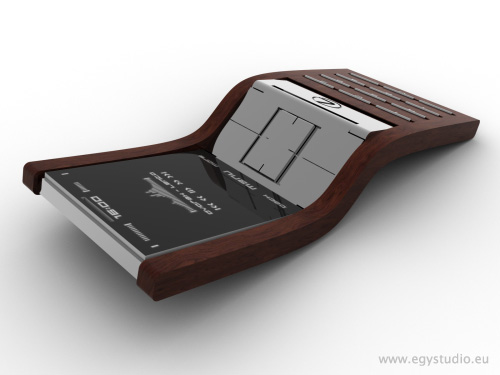
원목의 질감을 잘 살려 디자인한 느낌인 듯...

신기하고 예쁜 핸드폰 무지 많네요.
진짜 갖고 싶습니다만 한국에 출시될 가능성은 없는 것들 같네요.
출처는 사진에 명기되어 있습니다:D
----------------------------------------------------------------------------------------------------------------------
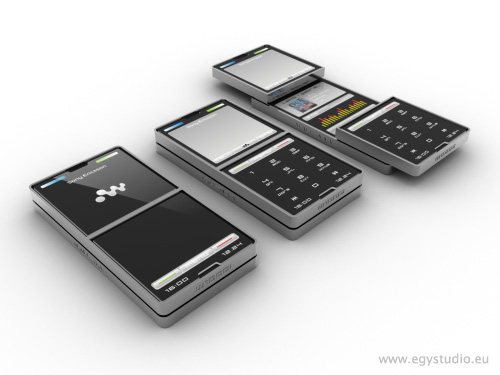
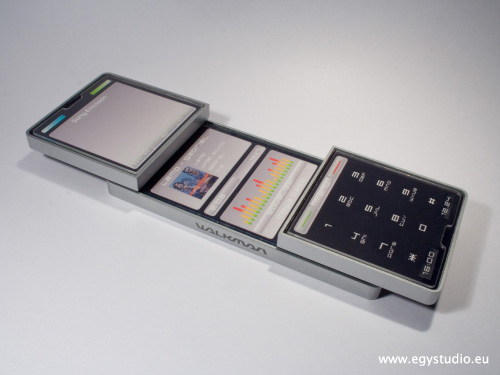
실제로 시장에 나와있는 물건이 아닐거라고 생각한 것들도 있었는데(특히 워크맨폰) 한두가지는 무지하게 리얼해서
일단 가져와봤더니 역시나 여러분들 말씀대로 3D모델링 제품들만 있었네요.
저런것들이 정말 시장에 나와준다면 좋겠다는 생각을 해봅니다:D
네이년에서 퍼올려고 했더니만 referer 체크하는가보다...ㅡ.ㅡ;;;
나중에 생각해보세~ 휘리릭..
호....디자인이 신선하군요.
은색 막대 부분을 올리고 내리느냐에 따라 작동모드가 갈리나봐요.
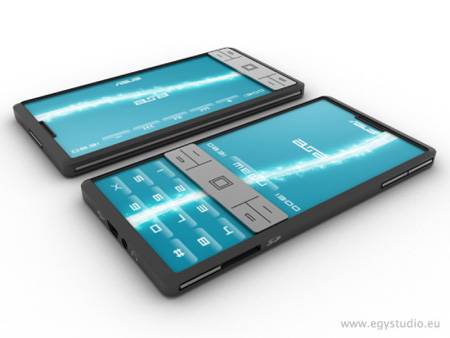
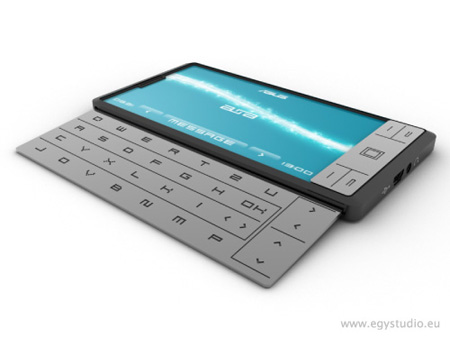
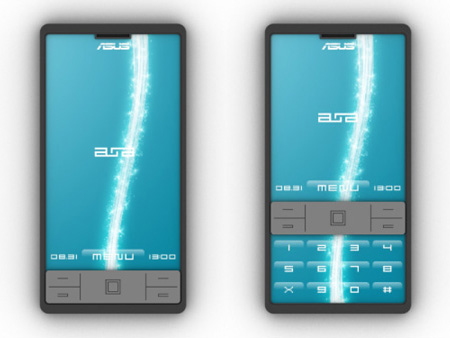
아수스가 핸드폰 사업에도 진출하나봐요.
노트북도 꽤 쓸만하게 만들더니 모바일 사업에 관심이 많아졌나보군요.
키보드가 옆으로 사출되는 방식이라고 하는데 저것 때문에 국내 출시는 상당히 어렵지 싶군요.
우리나라 사람들은 버튼 없으면 무지 싫어하잖아요-_-
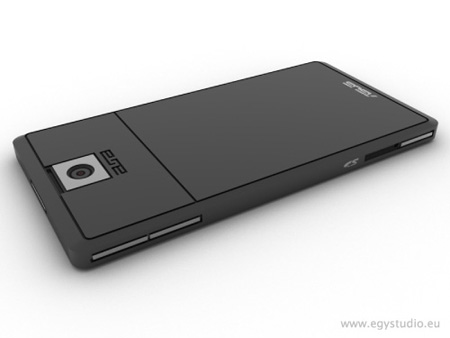
뒷면엔 카메라가 있고 SD카드 슬롯이 있네용.
생각 보다 얍실하군요.
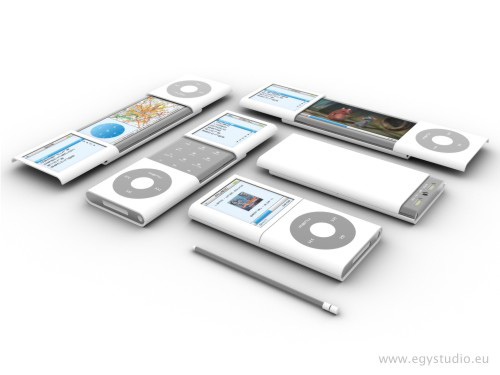
애플의 아이폰을 나름대로 디자인을 했던건가보군요.
겉으로만 봐서는 아이팟이랑 똑같은데.....
저렇게 출시 되었어도 상당히 인기를 끌었을 수 있다고 생각해요.
무지 이쁘네요.
이건 두가지 모델이 존재하나보군요.
액정을 위로 올리는지 옆으로 미는지에 따라 두가지인듯...
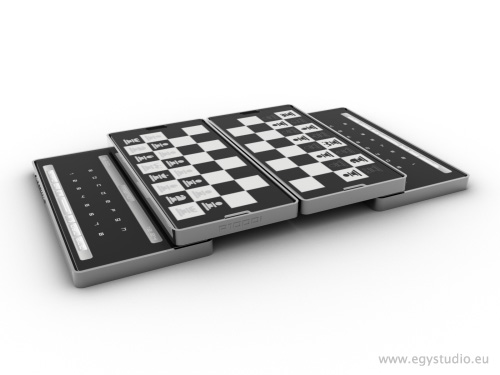
호.....맞대고 있는 면에 적외선 포트가 있나봐요.
저런식으로 체스 네트웍 플레이가 가능하다니....
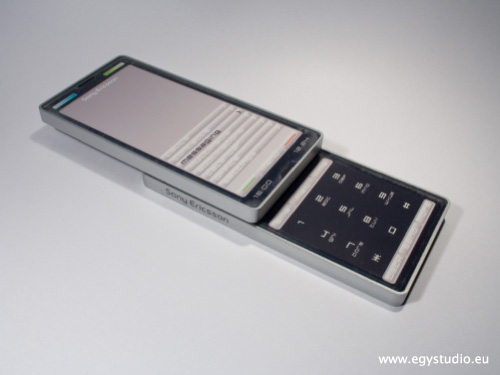
이건 소니 디자인이네요.
질감이 참 좋습니다.


